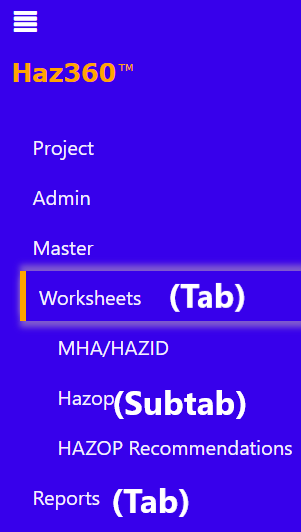
To make it easy to access and navigate your Haz360 project, you can set up a menu with relevant tabs and subtabs. For example, you can create a ‘Worksheets’ tab and place all the worksheets under this tab as subtabs. This will help to organize your project and make it easier for others to find the information they need.
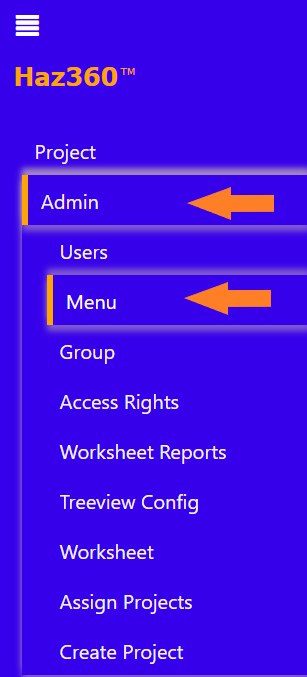
Click on ‘Admin’ tab and select the ‘Menu’ tab.
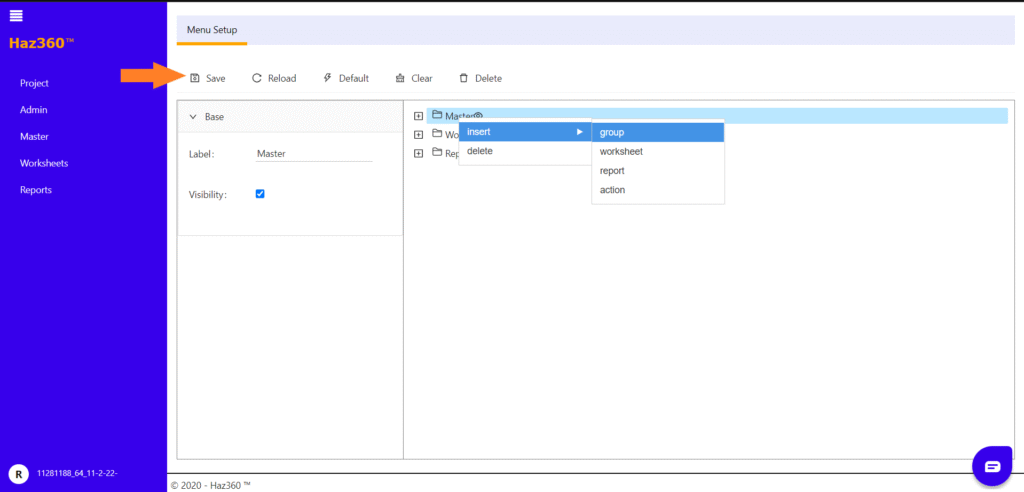
In the ‘Menu Setup’ window, you can create, edit, or delete tabs and subtabs.
These tabs and subtabs can include groups, worksheets, reports, and actions.
The tabs and subtabs will be visible in the left hand side pane if the ‘Visibility’ box is checked.
To save your changes, be sure to click the ‘Save’ button after creating new tabs and subtabs, or before reloading or exiting the ‘Menu Setup’ window.
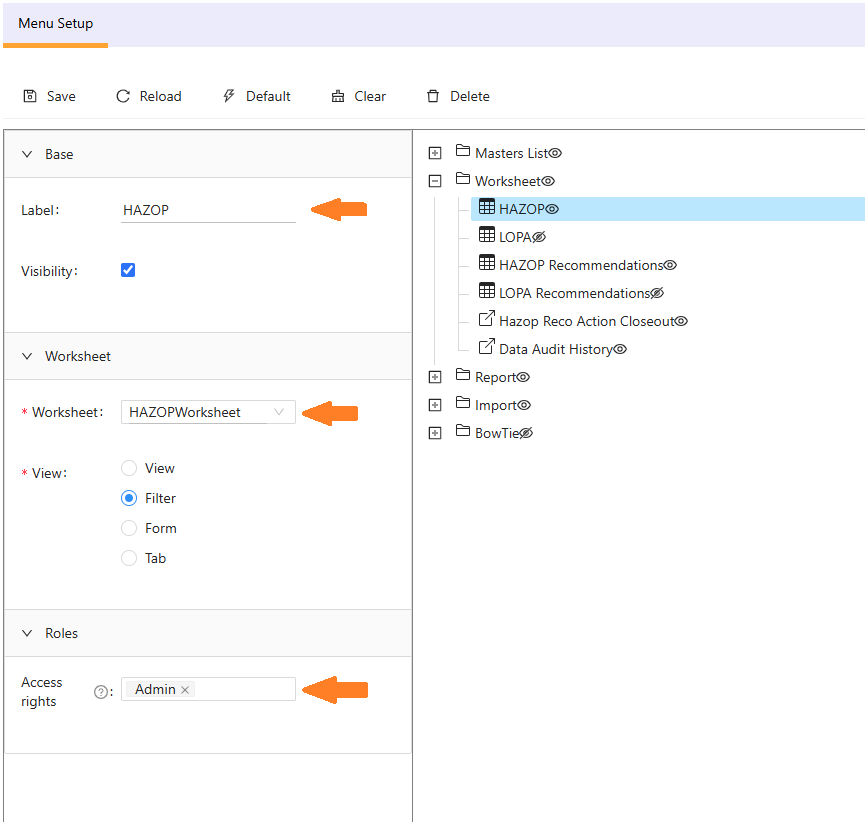
To ensure that your tabs and subtabs are organized and easy to use, give each tab a relevant name and assign a relevant template to it. This will help others (e.g. scribes) understand the purpose and content of each tab, and will make it easier for them to access and use the information.
The menu will ONLY be available for the users who has the Role/Group as given in the “Access rights” in above screen.