Treeview configuration is the place which is used to configure worksheets like HAZOP, HAZID, LOPA etc.
In order to use the treeview configuration. Click on ‘Admin’ and then click on ‘Treeview Config’.
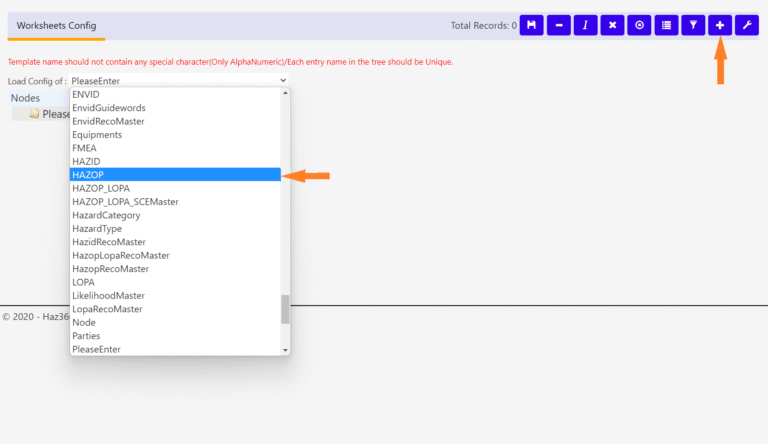
In the treeview configuration. Either the existing worksheet’s configuration can be edited by selecting it from the dropdown or a new worksheet can be created by clicking the plus sign at the top.
Creating a new worksheet:
After clicking on the ‘plus’ sign at the top. It will prompt the user to enter the worksheet name and click ‘Ok’.
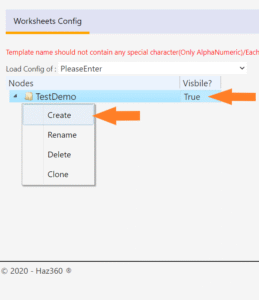
After worksheet is created right click on the worksheet name and click on ‘Create’ to create the nodes (columns) for the worksheet.
After the node is created. There are features to the right hand side to edit the name, data type, visibility status, editable status and column width.
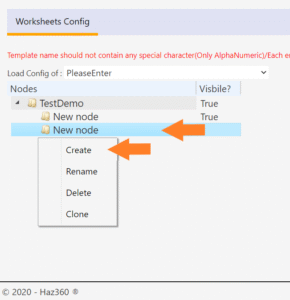
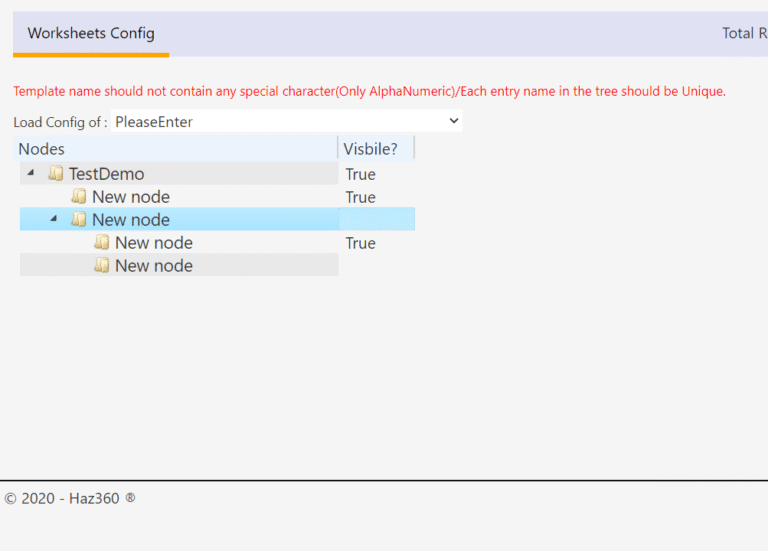
A tree can be created when the node is inserted by selecting a previously created node instead of worksheet.
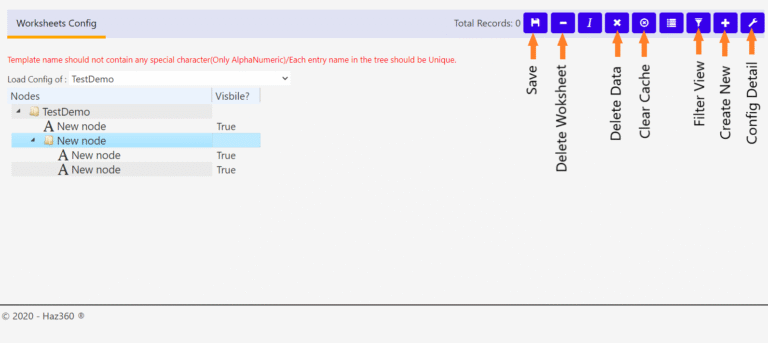
Necessary Functions in Treeview configuration:
‘Save’ applies the changes in configuration for the worksheet.
‘Delete Worksheet’ deletes the complete worksheet along with the data present in it.
‘Delete Data’ will only delete the data entered in the worksheet.
‘Clear Cache’ can be used to clear the cache generated.
‘Filter View’ can be used to view how the worksheet looks after making changes in worksheet.
‘Create New’ can be used to create a new worksheet.
‘Config Detail’ can be used to make changes on what should be the column name, column width and can be used to change visibility status, editability status.
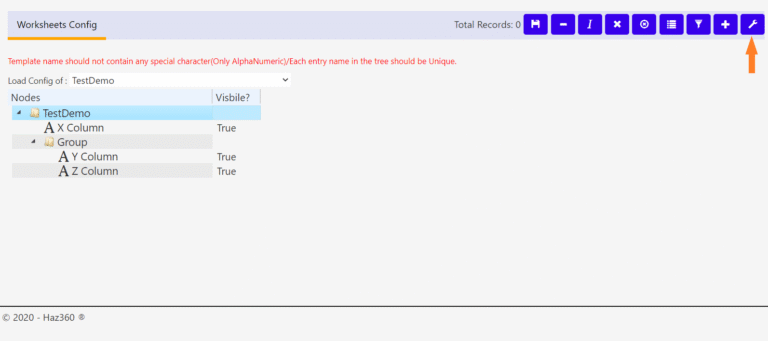
‘Filter View’ will prompt a new page which can be used to check how the worksheet looks after making cofiguaration changes. It can also be used to input some data into worksheet to check the tree structure.
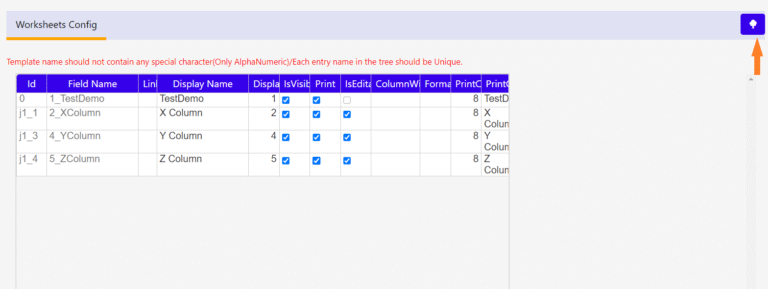
‘Config Detail’ will prompt a screen where the changes for all columns can be made at a single page like changing display names of columns, column width, changing their visibility status, availability status and unit.
After the changes are made in the ‘Config Detail’ Treeview Configuration can be returned by clicking on the ‘Tree’ icon at the top.